We collect basic website visitor information on this website and store it in cookies. We also utilize Google Analytics to track page view information to assist us in improving our website.
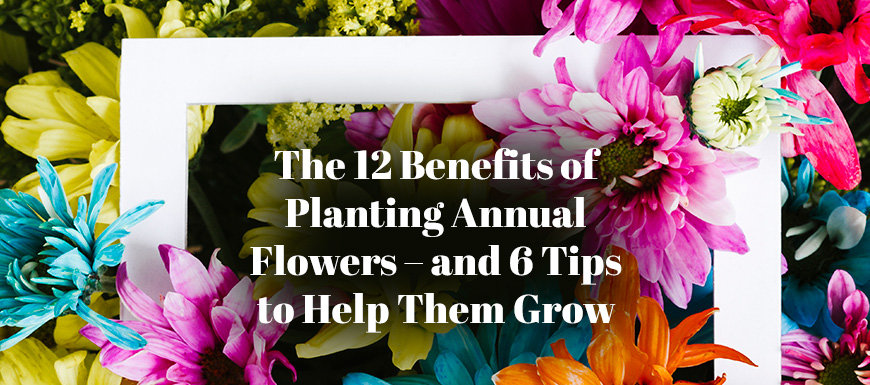
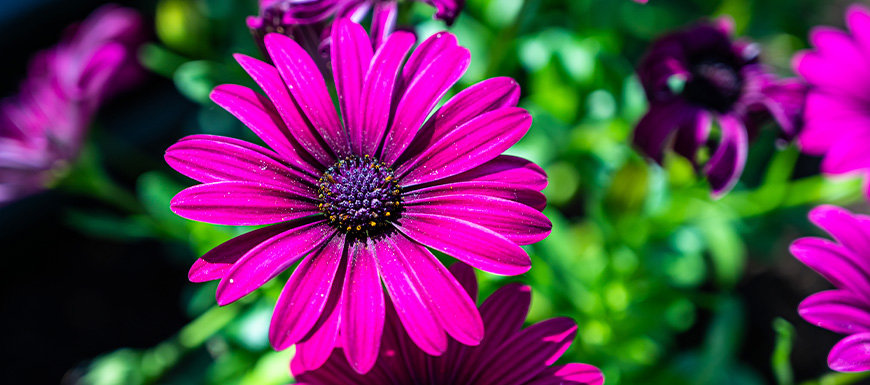
Annuals are a wonderful addition to any garden. Although they require a bit more care than perennials, annuals come with quite a few benefits. They bring showstopping beauty to your garden aesthetics, are great picks for healthy biodiversity and soil health, and will truly elevate your outdoor landscape.
Continue reading to see some of the amazing benefits of planting annual flowers.
1) Low-maintenance gardening
Dragonwing begonia, fibrous begonias, wave petunias, portulaca, mandevilla, zinnias, and cleome are annuals that all perform well in a variety of climates and are easy to care for. Gardening doesn’t have to become a chore. You should be able to enjoy it without feeling like it’s too much work. Annuals are the answer if you want a flourishing, colourful garden to enjoy without extra effort.
Low maintenance plants offer several advantages. Firstly, they save time by requiring less attention and care, reducing the need for frequent watering, pruning, and overall maintenance.
Secondly, these plants are often adapted to drought conditions, resulting in water efficiency and conservation. They also prove cost-effective, minimizing the need for expensive fertilizers, pesticides, and gardening supplies.
Additionally, low maintenance plants are beginner-friendly, forgiving of occasional neglect and mistakes, making them suitable for novice gardeners. Engaging with these plants can be a stress-relieving activity, providing the benefits of gardening without overwhelming demands.
Furthermore, these plants contribute to sustainable landscaping practices by having longer lifespans and reducing the need for frequent replanting, thereby minimizing waste. They can also attract beneficial wildlife, promoting biodiversity, and come in various sizes, colors, and textures, allowing for an attractive and diverse landscape with minimal effort. Many low maintenance plants offer extended blooming periods, ensuring continuous beauty in the garden with limited intervention.
Lastly, their reduced reliance on chemicals and intensive care makes them eco-friendly, aligning with environmentally conscious gardening approaches. When selecting low maintenance plants, consider your specific climate, soil conditions, and sunlight availability to ensure their suitability and success in your garden.

2) Visual appeal
A beautiful garden and appealing landscape design add so much visual appeal to your home. You’re much more likely to want to spend time in your yard if it’s pretty to look at, and adding annuals can be just the solution you’re looking for if you’ve been wanting to elevate your outdoor space.
3) Coordinating colour schemes
Annuals are available in a wide range of different colours. This makes the options for styling your garden endless and you can coordinate the colours to suit whatever your heart desires.
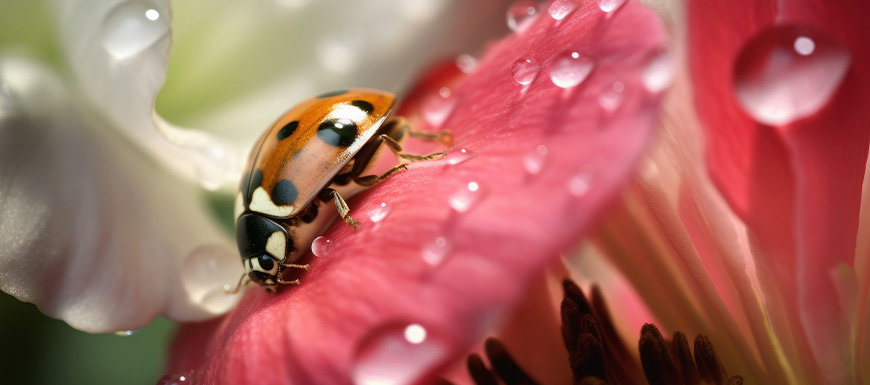
4) Pollinator-friendly flowers
Annual plants play a crucial role in supporting pollinators such as bees, butterflies, and hummingbirds. These plants typically have vibrant and attractive flowers that produce abundant nectar and pollen, serving as valuable food sources for pollinators.
By planting annuals, we can create a vibrant and diverse floral landscape that entices pollinators to visit and forage. Annuals offer a wide range of colors, shapes, and sizes, allowing us to design pollinator-friendly gardens that provide a continuous supply of nourishment throughout the growing season.
Moreover, annuals can be easily incorporated into gardens, containers, or hanging baskets, making them accessible even in limited spaces. Whether it's marigolds, zinnias, geraniums, or cosmos, including annual plants in our gardens is a simple yet effective way to support and attract pollinators, contributing to their health and the overall biodiversity of our ecosystem.
Planting annuals in and around your vegetable garden can help protect and increase your harvest!
5) Curb appeal and property value
Flowers bring so much life to a yard, and they’re an inexpensive and low-maintenance way to enhance the value of your home. A beautiful garden makes a home appear inviting, and you’re sure to make passersby envious if you have a yard that has a variety of pretty flowers.
6) Garden therapy
Gardening is proven to be hugely beneficial for people’s mental and physical health. What better way to work on your green thumb than by planting a colourful garden full of blooming annuals? Plants impact emotions and enhance positive feelings. Consider it a gift to yourself and make planting a priority this growing season. After you have your flowers chosen and planted, you can watch them grow and sit and enjoy the fruits of your labour.
7) Non-stop blooming
Are you looking for flowers that will bloom all summer long? Then annuals are a great option for your garden! They can grow for an extended period if they’re well-maintained, which is good news if you’re looking for flower varieties that you can enjoy all season long.
Generally, annual plants have a shorter lifespan compared to perennials. Annual plants complete their life cycle within a single growing season, typically flowering, producing seeds, and then dying. Perennial plants, on the other hand, can survive and regrow for multiple years.
However, when it comes to blooming duration, it can vary among different plant species within each category. Some annual plants may have extended blooming periods, providing continuous flowers throughout the growing season. For example, certain varieties of lantana, marigolds, alyssum, or cosmos can bloom for several months, offering vibrant colors and nectar sources for pollinators.
8) Naturally pest and disease resistant
Many annuals are naturally pest-resistant and are unappealing snacks to pesky critters like rabbits and deer, which can help deter unwanted guests from your garden. Here are some examples of annuals with strong natural resistance:
Marigolds (Tagetes): Marigolds have a strong scent that repels many insects, including aphids and nematodes.
Nasturtiums (Tropaeolum): Nasturtiums attract aphids away from other plants and can deter whiteflies and squash bugs.
Zinnias (Zinnia): Zinnias are less attractive to Japanese beetles and can deter spider mites.
Sweet Alyssum (Lobularia maritima): Sweet Alyssum is known to repel aphids and attract beneficial insects like hoverflies.
Petunias (Petunia): Certain petunia varieties, such as multiflora types, have increased resistance to pests like aphids and tomato hornworms.
Lantana (Lantana): Lantana can deter many common garden pests, including aphids, whiteflies, and spider mites.
Salvia (Salvia): Some salvias, like culinary sage (Salvia officinalis), have aromatic leaves that repel pests such as cabbage moths and carrot flies.
Snapdragons (Antirrhinum): Snapdragons are generally resistant to most pests, including aphids and spider mites.
Geraniums (Pelargonium): Certain geranium varieties have natural repellent properties against mosquitoes and other flying insects.
Dusty Miller (Senecio cineraria): The silvery-gray foliage of Dusty Miller can deter pests like aphids and whiteflies.
9) Fill out bare spots
If you’re noticing that there are bare patches in your garden, then planting some annuals might just be the answer to your problem. Annuals are a notoriously good space filler, and they can buff up any garden that looks a little sparse. They grow easily and expand quickly if you follow their care needs, which will be a huge help if you’re trying to make your outdoor space look fuller and lusher.

10) Add pops of colour
Annuals come in so many different colours that pack a big punch when planted in your garden. Take an otherwise boring section of your yard and transform it with some aesthetically pleasing flowers.
11) Fresh-cut flowers for bouquets all season long
Many types of annuals are perfect for hand-cut bouquets, and who doesn’t want to put together bunches of flowers from their own garden? Sunflowers, sweet peas, zinnias, and snapdragons are just some of the annuals that are ideal for fresh bouquets.
12) Versatility
Since annuals are seasonal, it means that you can change them up year to year to follow gardening trends and suit your changing tastes from season to season.
1) Avoid frost at all costs
It should also be mentioned that annuals are not frost tolerant, so it’s good to wait until the threat of frost has passed. It’s typically recommended to start planting after the May long weekend.
If annuals are planted and there is a frost warning, you should bring plants inside or cover them with blankets.
2) More shade? No problem.
Begonias are a great example of a shade loving annual, and there are several different varieties. Other shade preferential annuals include impatiens, coleus and many varieties of ivy are shade lovers as well.
3) Forget to water your flowers? Then this one is for you.
Mandevillas, which can come in many sizes and containers are an excellent choice for the gardener who forgets to water their plants. These hardy little flowers are drought-tolerant, sun lovers that require very little deadheading. They are also one option that will withstand a weekend without water, if necessary.
4) Research heights
Be sure to do your research about the height your annuals will grow to. Vining plants will climb up whatever surface they can, and you don’t want to plant them where this will pose a problem.
5) Get comfortable with deadheading
Deadheading is self-explanatory. It involves routinely removing the dead flowers from your annuals to make room for new blooms. You’ll want to regularly do this with plants like geraniums, to give your flowers the best chance of thriving all season long.
6) Group together flowers with the same light and watering needs
Ivys can go in the sun or shade, which is usually a great additive to combination planters. But it isn’t wise to group opposite-needed flowers together, as they won’t be able to have their requirements equally met. Learn what your flowers need in terms of light and watering before you plant them.
Conclusion:
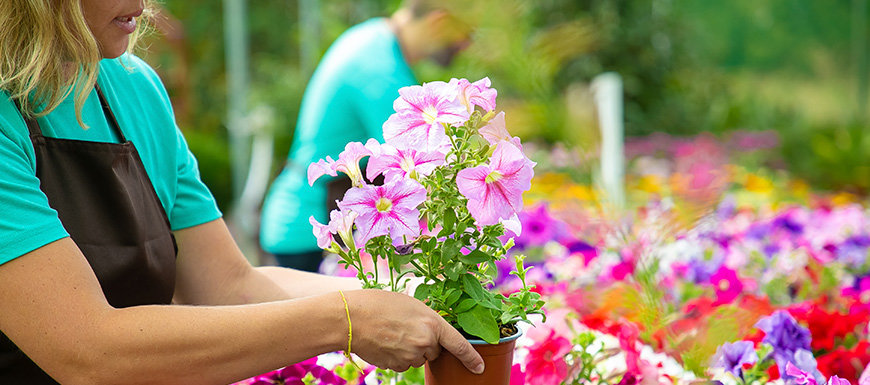
As you can see, annuals offer so many benefits for your garden and are the ideal choice for gardeners at any level of experience. If you’re looking to boost the appeal of your garden this season, then be sure to visit Warren Greenhouses to pick out your annuals – you won’t regret it!

Spring is a magical time of year when the world awakens from its winter slumber and bursts into vibrant colors and scents. It’s also the perfect time to get your gardens ready for early season plants like pansies and spring bulbs. At our greenhouse, we believe that the key to a beautiful and bountiful garden lies in proper preparation.
In this blog post, we’ll share some tips on how to get your gardens ready for early season planting, including spring clean-up, adding new soil, and selecting the right plants. Don’t forget you can always come in and talk to our team of experts(link) to get the specific advice you need. This is especially important if you’re struggling with a specific issue like soil pH, or a pest infestation. Our team is here to help you get the most out of your growing season.
The first step to preparing your garden for early season planting is to do some spring clean-up. This includes removing any dead leaves, twigs, and debris that may have accumulated over the winter. Raking your lawn and flower beds is also important, as it will help to remove any thatch and allow air and water to penetrate the soil. Pruning your trees and shrubs is also a good idea, as it will promote new growth and help to shape your plants.
Removing weeds is another important task in spring clean-up. Weeds can rob your plants of valuable nutrients and water, and they can also spread quickly and take over your garden. You can remove weeds by hand or with a hoe, or you can use an herbicide if necessary. If you choose to use an herbicide, be sure to follow the instructions carefully and apply it when there is no wind.
Finally, you should rake up any old mulch or other organic material that may be on the ground. This will help to aerate the soil and allow water and nutrients to penetrate more easily.
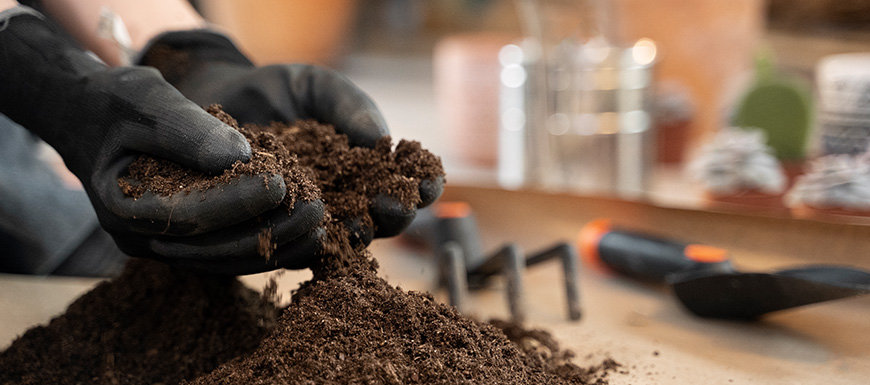
Once you’ve done your spring clean-up, it’s time to add new soil to your garden and flower beds. This will help to replenish the nutrients that may have been lost over the winter months and provide a fresh start for your plants.
Before you add new soil, it’s important to test the pH levels of your soil. You can do this by using a soil testing kit, which you can purchase at most nurseries or garden centers. If your soil is too acidic or too alkaline, you may need to add some lime or sulfur to adjust the pH levels.
There are several types of soil that you can use, depending on the needs of your garden. Here are some common types:
Garden soil: This is a blend of topsoil, sand, and compost, and it’s ideal for most gardening needs. Garden soil is nutrient-rich and well-draining, which is important for healthy plant growth.
Potting soil: This is a soilless mix that is designed for use in containers. Potting soil is lightweight and contains peat moss, perlite, and other materials that promote drainage.
Compost: This is a nutrient-rich material that is made from decomposed organic matter, such as leaves, grass clippings, and kitchen scraps. Compost can be used as a soil amendment to improve soil structure and fertility.
Once you have checked your pH and balanced it. You should add a layer of compost to your garden and flower beds. Compost is rich in nutrients and will help to improve the structure of your soil. You can either make your own or you can purchase it at a nursery or garden center.
After you’ve added the compost, you can add a layer of topsoil to your garden and flower beds. Topsoil is the uppermost layer of soil and contains a high concentration of nutrients. This will provide your plants with the nutrients they need to grow and thrive.
When adding new soil, it’s important to mix it thoroughly with your existing soil. This will help to distribute the nutrients evenly and create a healthy growing environment for your plants. Be sure to add enough soil to create a depth of at least six inches, which will provide a good root zone for your plants.
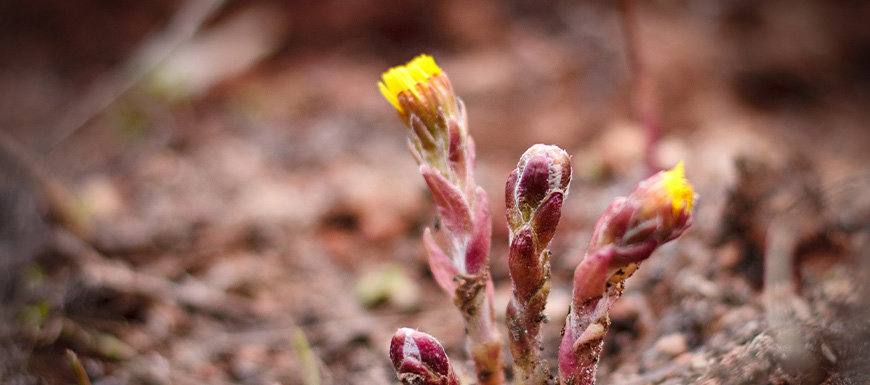
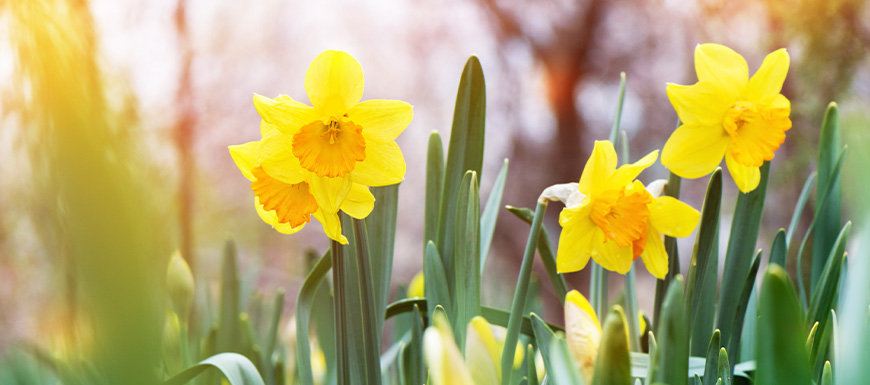
Now that your garden and flower beds are ready, it’s time to start planting your early season plants like pansies and spring bulbs. Spring bulbs like tulips, daffodils, and crocuses are also a great choice for early spring. They can be planted in the fall and will bloom in the early spring, providing a burst of color after the long winter months.
When planting your early season plants, be sure to follow the planting instructions carefully. Pansies should be planted in well-draining soil and should be watered regularly. Spring bulbs should be planted in a location that gets plenty of sunlight and should be watered deeply once a week.
It’s also important to mulch around your plants to help retain moisture and keep weeds at bay. You can use a layer of straw, wood chips, or shredded leaves for this.
Here are some popular choices for early spring plants and flowers:
Pansies are a popular choice for early spring because they can tolerate cooler temperatures and can even survive a light frost. They come in a wide range of colors and can add a pop of color to your garden. Pansies are easy to grow and can thrive in containers or in the ground. They prefer well-draining soil and should be watered regularly. Pansies also benefit from regular deadheading to encourage more blooms.
Primrose is another early season plant that can add a pop of color to your garden. They come in a range of colors, including pink, purple, and yellow. Primrose is easy to grow and can thrive in partial shade or full sun. They prefer moist soil and should be watered regularly.
Tulips are a classic early season plant that is popular for their bright and bold colors. They come in a range of colors, including red, pink, yellow, and purple. Tulips are easy to grow and can be planted in the fall for early spring blooms. They prefer well-draining soil and should be watered regularly. Tulips also benefit from regular deadheading to encourage more blooms.
Daffodils are another classic early season plant that is popular for their bright yellow blooms. They are easy to grow and can be planted in the fall for early spring blooms. Daffodils prefer well-draining soil and should be watered regularly. They also benefit from regular deadheading to encourage more blooms.
Crocus is a low-growing plant that is perfect for adding a pop of color to your garden. They come in a range of colors, including purple, white, and yellow. Crocus is easy to grow and can be planted in the fall for early spring blooms. They prefer well-draining soil and should be watered regularly.
Hyacinth is an early season plant that is popular for its fragrant blooms. They come in a range of colors, including blue, pink, and white. Hyacinth is easy to grow and can be planted in the fall for early spring blooms. They prefer well-draining soil and should be watered regularly.
In addition to the plants mentioned above, there are many other early season plants to consider for your garden, including violas and snapdragons. These plants can add color and interest to your garden, and they are easy to grow and care for.
When selecting early season plants, it's important to consider the amount of sunlight and shade in your garden. Some plants require full sun, while others thrive in partial shade. You should also consider the amount of water your plants will need and whether they prefer well-draining soil or soil that retains moisture.
In conclusion, selecting early season plants is an important part of planning your garden. By choosing plants that can tolerate cooler temperatures and can even survive a light frost, you can ensure that your garden looks beautiful throughout the spring season.
Consider plants like pansies, primrose, tulips, daffodils, crocus, and hyacinth when planning your early season garden. With a little planning and care, you can create a beautiful and thriving garden that will provide enjoyment throughout the spring season.
Come by Warren Greenhouses and speak to one of our experts to get the plants and supplies you need to prepare your flower beds for a long growing season. By putting in a little extra work, in the early spring, you can set yourself up for whole summer for easy growing.